Our Fiber Internet is designed with our customers in mind – simple to set up, fast and reliable to use. Check out the information below to get set up in a flash, so you can start going Fiber‑fast.
How to Complete Clearwave Fiber Self‑Installation

Download a copy of our Self‑Installation Guide
Clearwave Fiber Internet Self‑Installation Guide
Get set up in a flash, so you can start going Fiber‑fast.
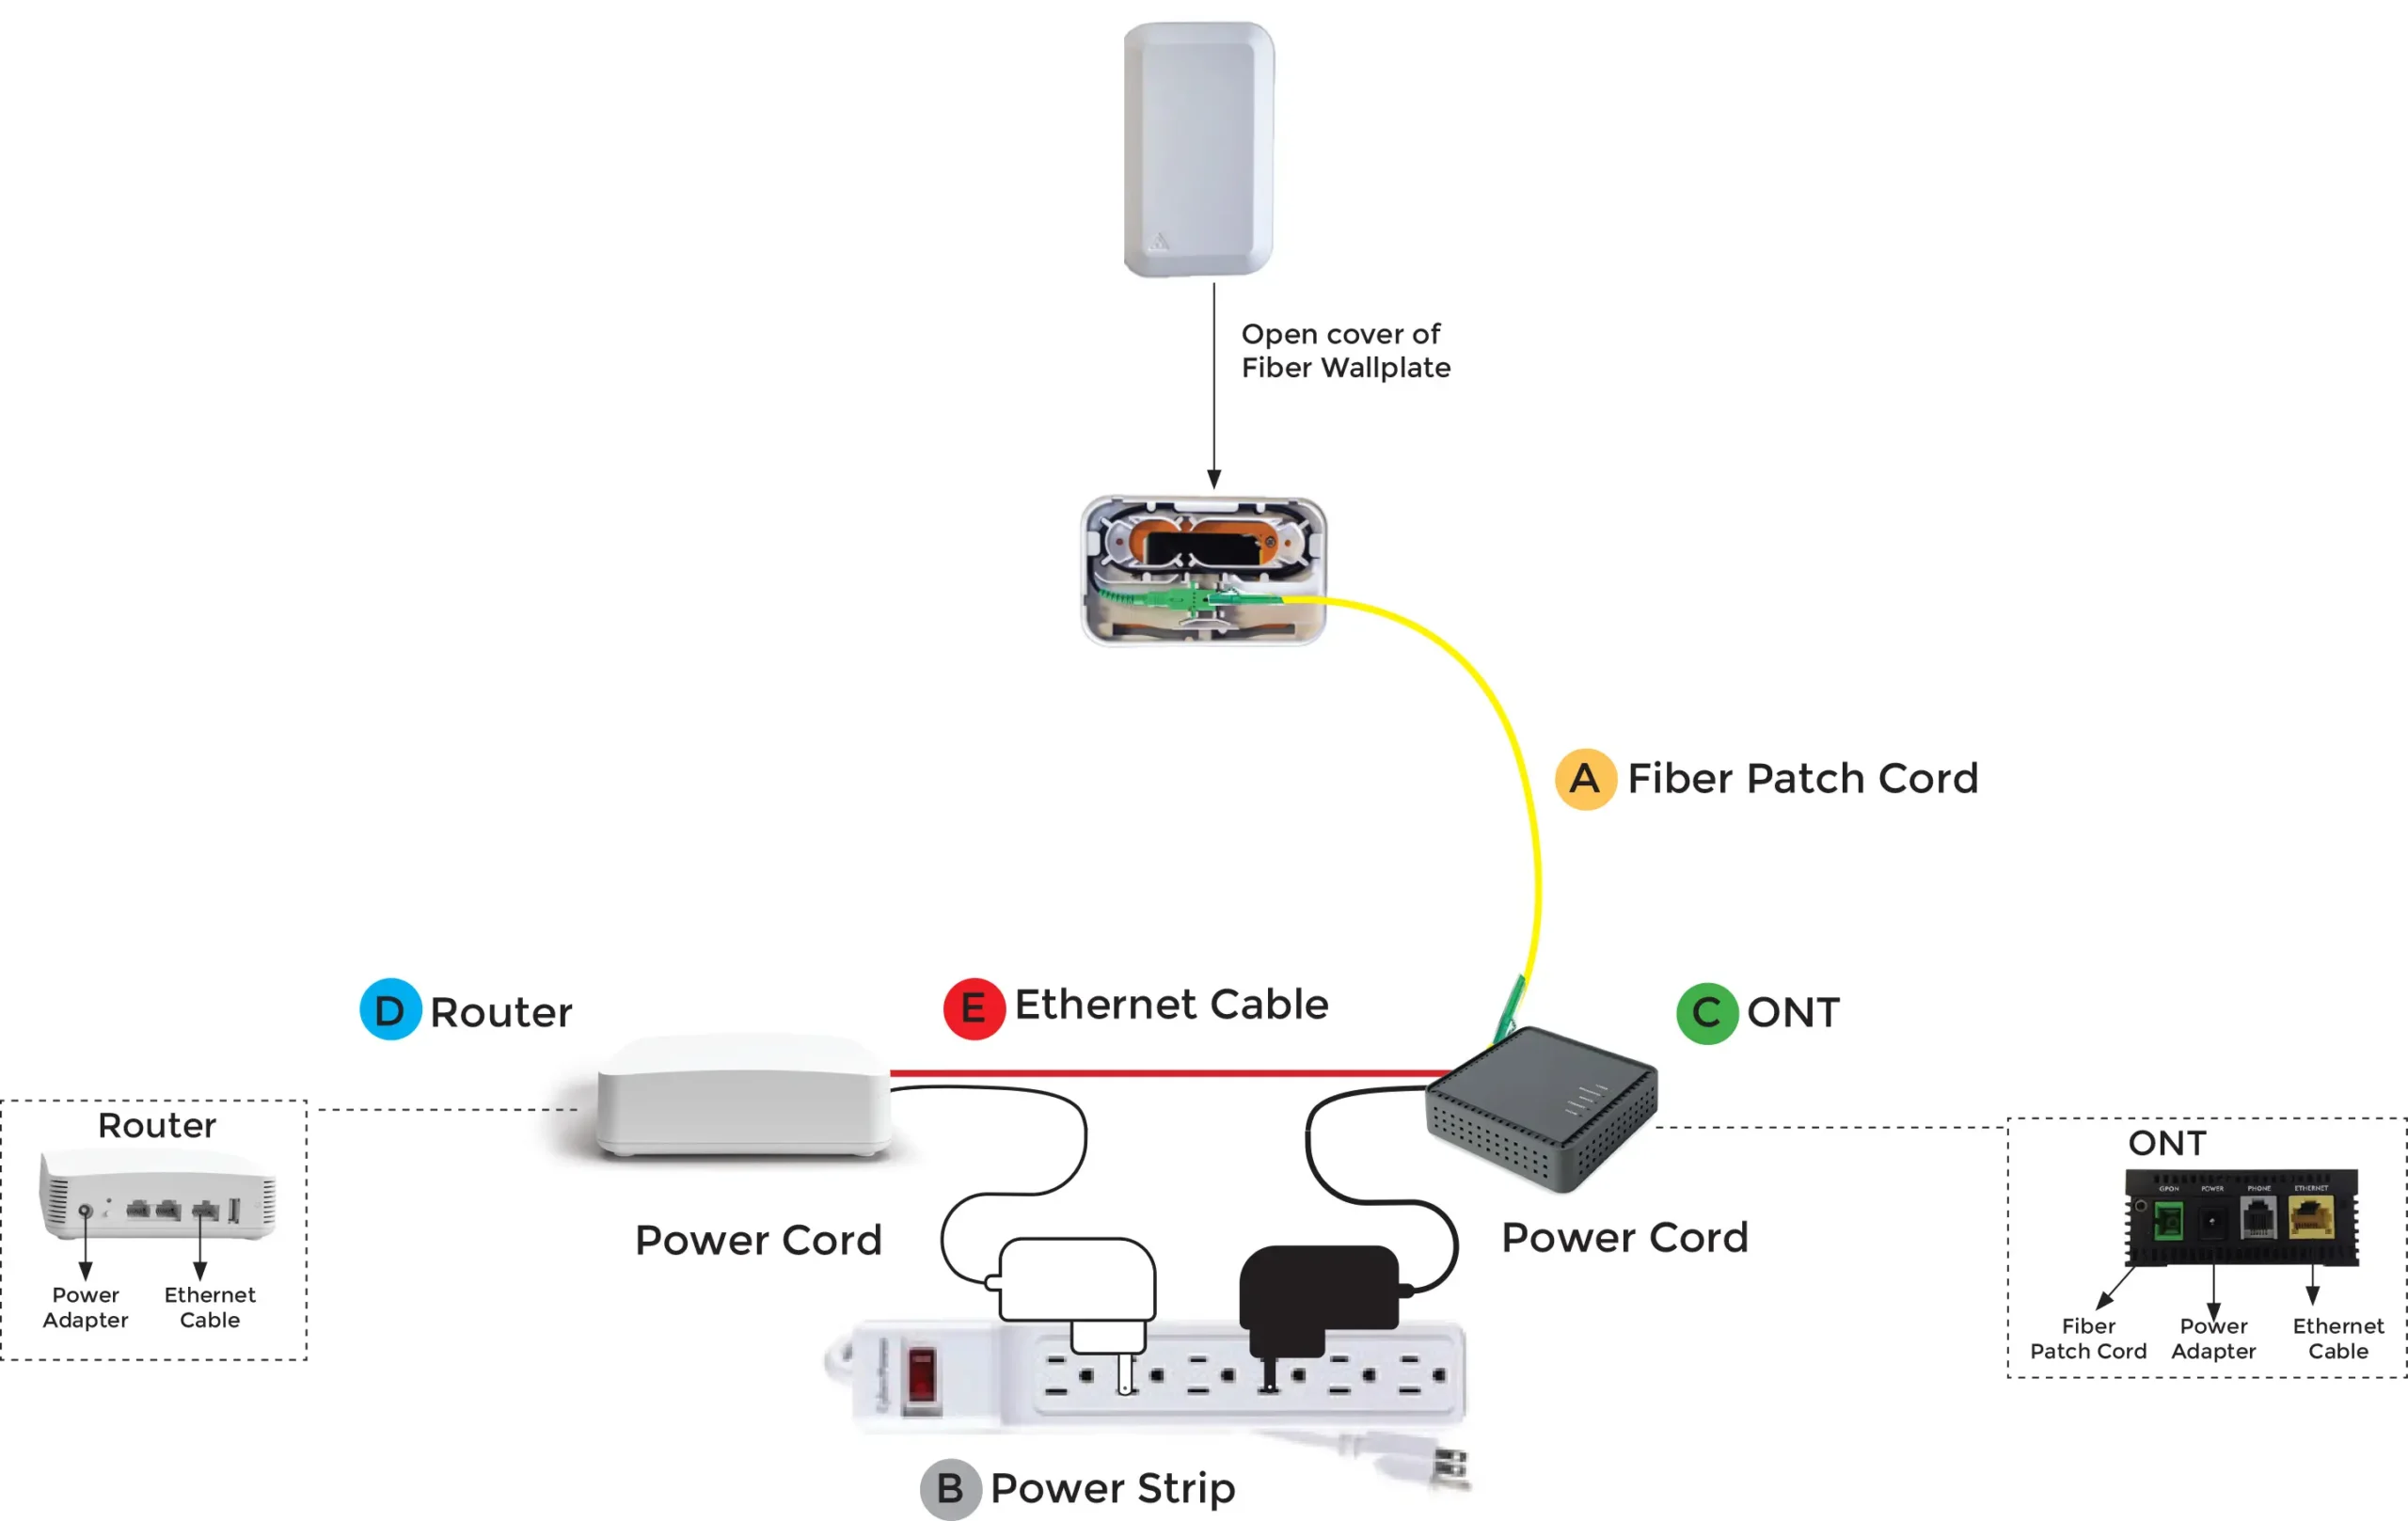
What’s in the Box?
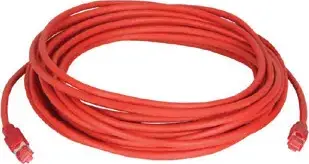
A Fiber Patch Cord

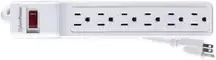
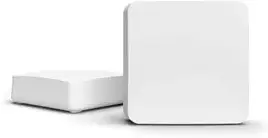
B Power Strip
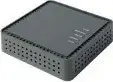
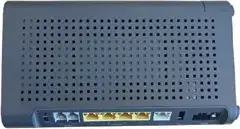
C ONT
& Power Adapter Cord
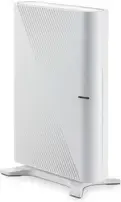
D Router
& Power Adapter Cord
E Ethernet Cable
Please note: You will receive one item from C and one item from D. Cables and cords may be a different color than what’s shown here.
Getting Set Up
1. Identifying Your Equipment
Open your Clearwave Fiber Internet Self-Installation Package and identify each item according to the color-coded labels, as shown in the diagram above. Please use only the equipment provided in the Clearwave Fiber Self-Installation package.
2. Locating the Fiber Wallplate
Find the Fiber Wallplate in your home. Its location may vary from home to home but is typically found indoors affixed on the inside of an exterior wall, in a closet or media panel. This is where the Fiber Internet signal enters your home.
- If the Fiber Wallplate does not have a Fiber Patch Cord A emerging from it, use the one provided in the Self-Installation Package.
- Gently take the cap off one of the green ends of the Fiber Patch Cord, taking care not to touch or look directly into the end of this cord. The light emanating from this cord could damage your eyes.
- Open up the Fiber Wallplate and plug the green end of the Fiber Patch Cord into the green port/opening within the Fiber Wallplate.
- If the Fiber Wallplate has a Fiber Patch Cord A emerging from it, you will not need the one provided.
3. Connecting Your Equipment
B Power Strip
- Plug the Power Strip into a nearby electrical outlet.
C ONT
- Take the other green end of the Fiber Patch Cord and plug it into the green port/opening on the side of the ONT.
- Connect the ONT’s Power Adapter to the ONT and plug it into the Power Strip.
- The “Power,” “Broadband” and “Service” indicators on the ONT should light up green after 2‑3 minutes.
D Router
- Connect the Router’s Power Adapter to the Router and then plug it into the Power Strip.
E Ethernet Cable
- Plug one end of the Ethernet Cable into the port labeled “Ethernet” on the ONT.
- Plug the other end of the Ethernet Cable into the Router port that has a globe icon above it.
- After about 10 minutes you’ll see a solid blue light on the Router and a green light for “Ethernet” on the ONT.
4. Setting Up Your Wi-Fi
Your Clearwave Fiber Router comes with the Clearwave Fiber Wi-Fi App so you can conveniently manage your home Wi-Fi network.
Learn more & get the app at clearwavefiber.com/App.
Quick Visual Overview